> ## Documentation Index
> Fetch the complete documentation index at: https://docs.junction.com/llms.txt
> Use this file to discover all available pages before exploring further.
# Scheduled Orders
> Schedule lab test orders for future fulfillment dates using the activate_by parameter for follow-up testing workflows.
Junction provides a way to schedule your orders for a future date, both via the API and via the Junction Dashboard. A scheduled order is
one that will only be fulfilled in the future, so it won't be created in the Partner Laboratories until the defined date. This is useful for
defining follow-up orders after placing an initial Lab Order for a patient.
## Ordering through the API
To place a scheduled order through the API, you should use the [Create Order endpoint](/api-reference/lab-testing/create-order),
passing the `activate_by` date parameter. The `activate_by` parameter defines when that order is scheduled for,
and it will move from the `ordered` to the `requisition_created` status when the date arrives.
If you want to query all placed orders, you may use [Get Orders endpoint](/api-reference/lab-testing/get-orders), passing an `order_activation_types` query parameter, which accepts the following values `["current", "scheduled"]`.
* If the parameter is not provided, every order is returned.
* If `current` is provided, orders with a `null` `activate_by` date or with `activate_by` set before the current date are returned.
* If `scheduled` is provided, orders with an `activate_by` date greater than the current date are returned.
Placing a scheduled order for January 6, 2025 would look like this:
```json Placing a Scheduled Order request theme={null}
{
"user_id": "3fa85f64-5717-4562-b3fc-2c963f66afa6",
"patient_details": {
"dob": "2022-07-06T22:20:26.796Z",
"gender": "male | female",
"email": "test@test.com"
},
"patient_address": {
"receiver_name": "John Doe",
"street": "Hazel Road",
"street_number": "102",
"city": "San Francisco",
"state": "CA",
"zip": "91789",
"country": "U.S.",
"phone_number": "+14158180852"
},
"lab_test_id": "3fa85f64-5717-4562-b3fc-2c963f66afa6",
"physician": {
"first_name": "John",
"last_name": "Doe",
"email": "john@doe.com",
"npi": "123456789",
"licensed_states": ["CA", "NY"],
"created_at": "2022-07-06T22:20:26.796Z",
"updated_at": "2022-07-06T22:20:26.796Z"
},
"activate_by": "2025-01-06"
}
```
## Ordering through the Junction Dashboard
To place a scheduled order through the dashboard, just follow the normal procedure until you reach the Lab Testing selection screen.
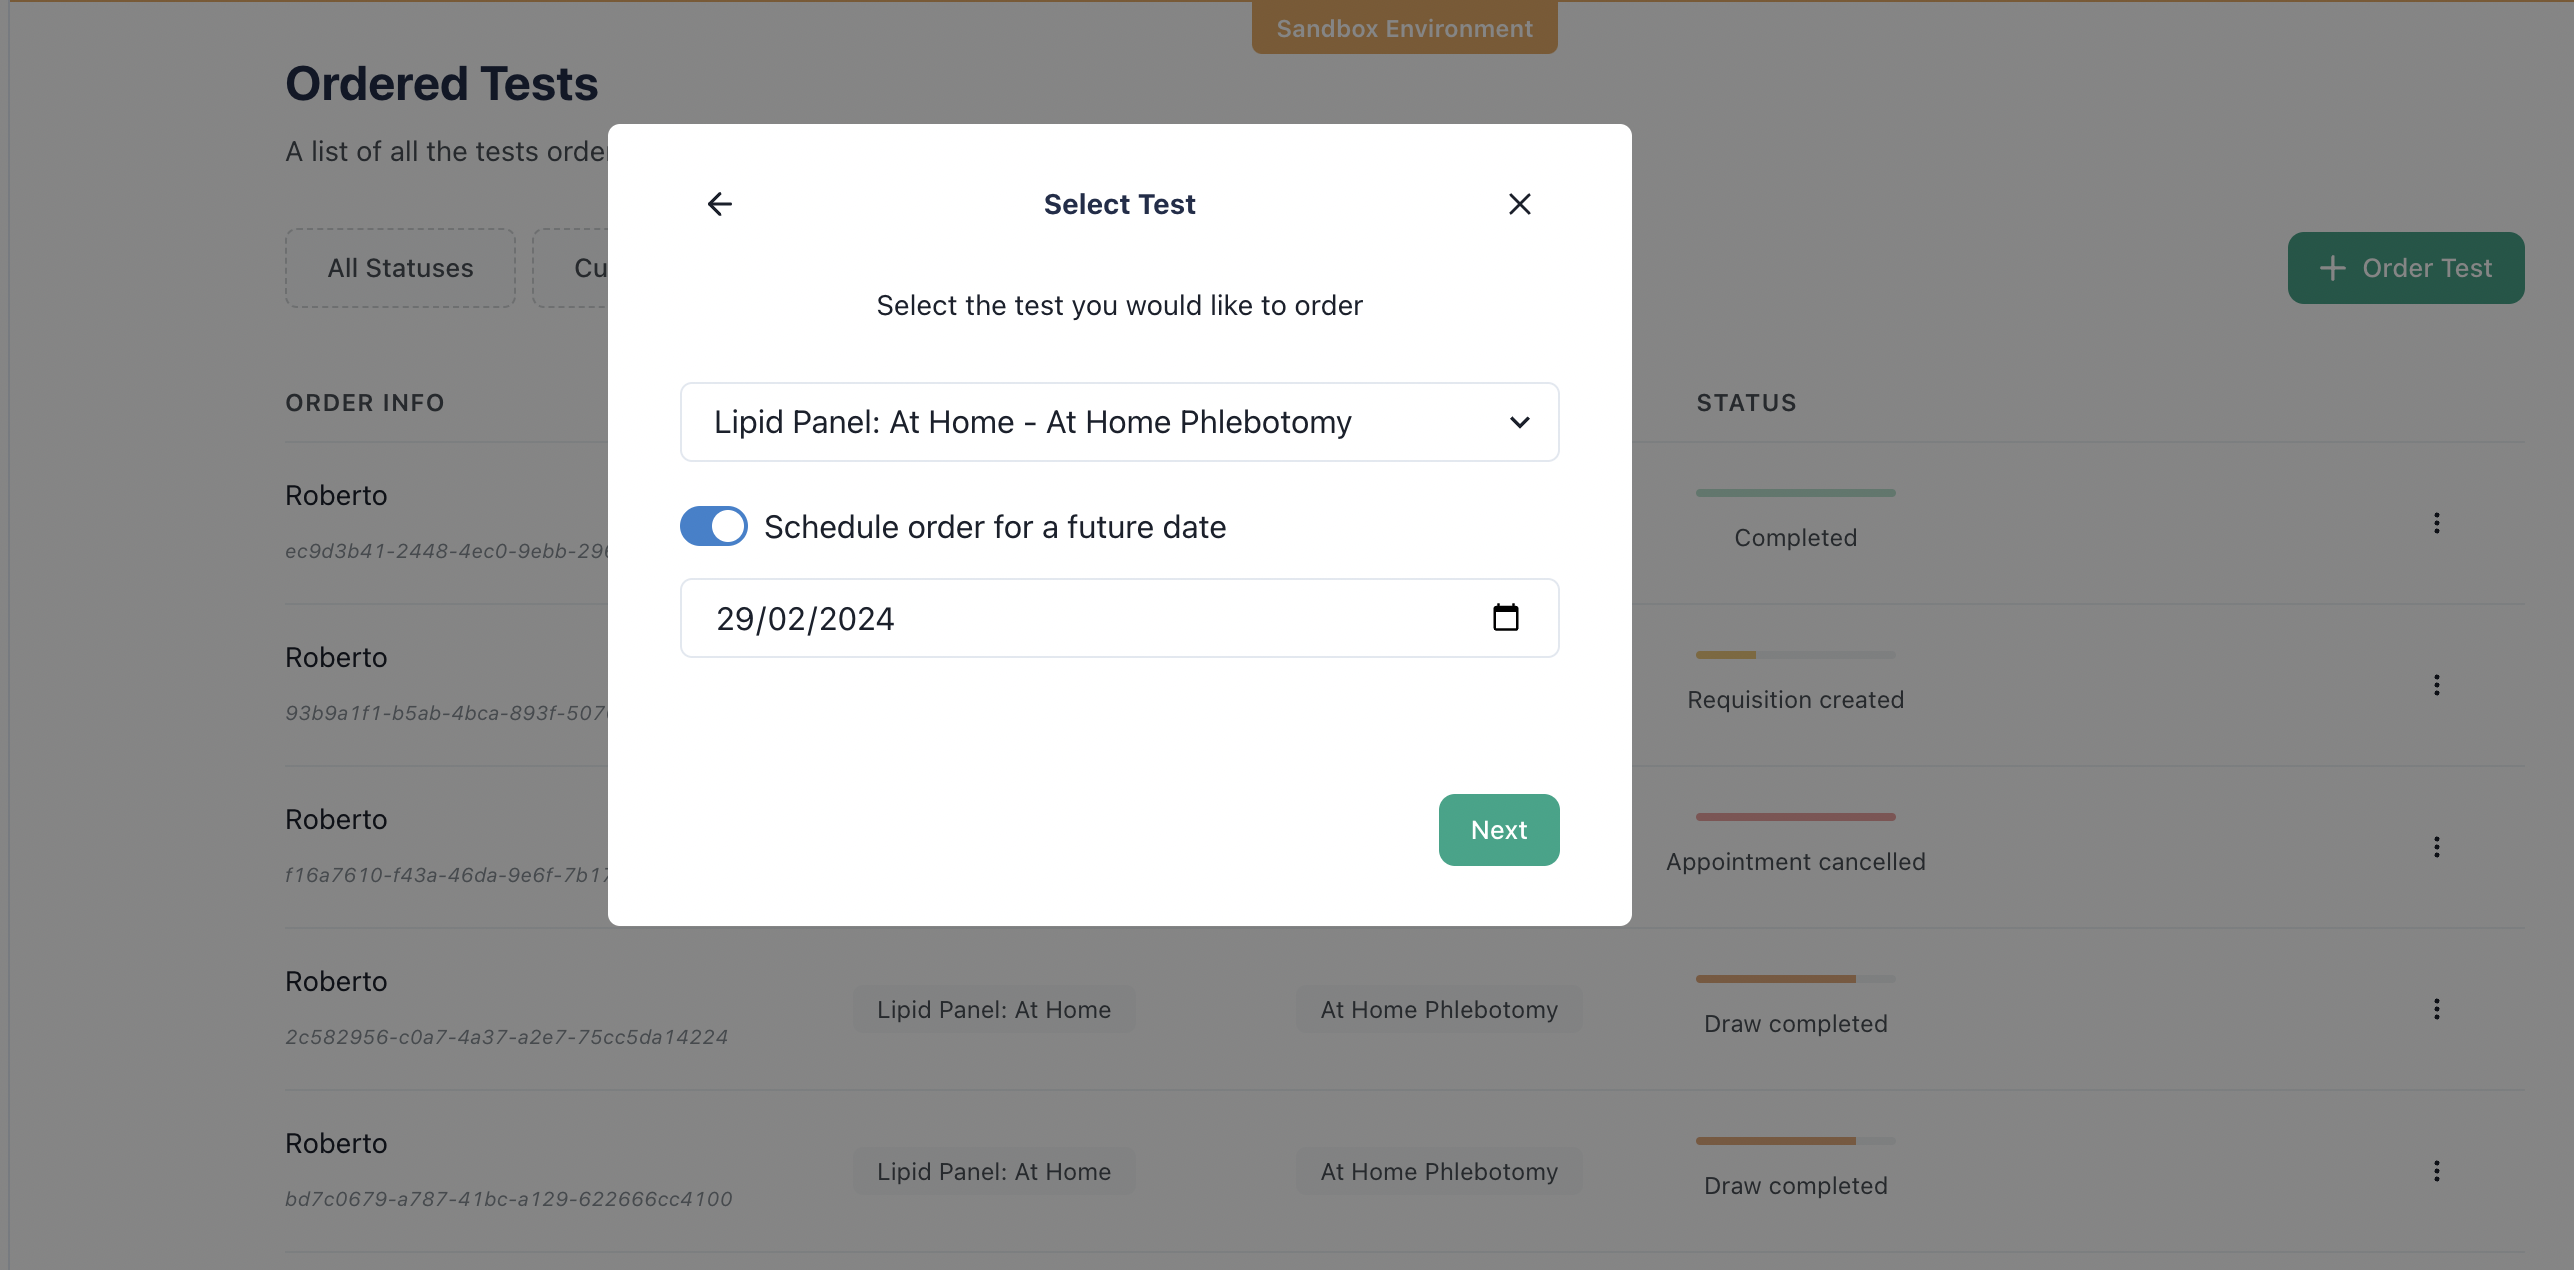 Notice that there is a checkbox for defining this order as scheduled for the future. After the checkbox is selected, you can pass in the desired scheduled date.
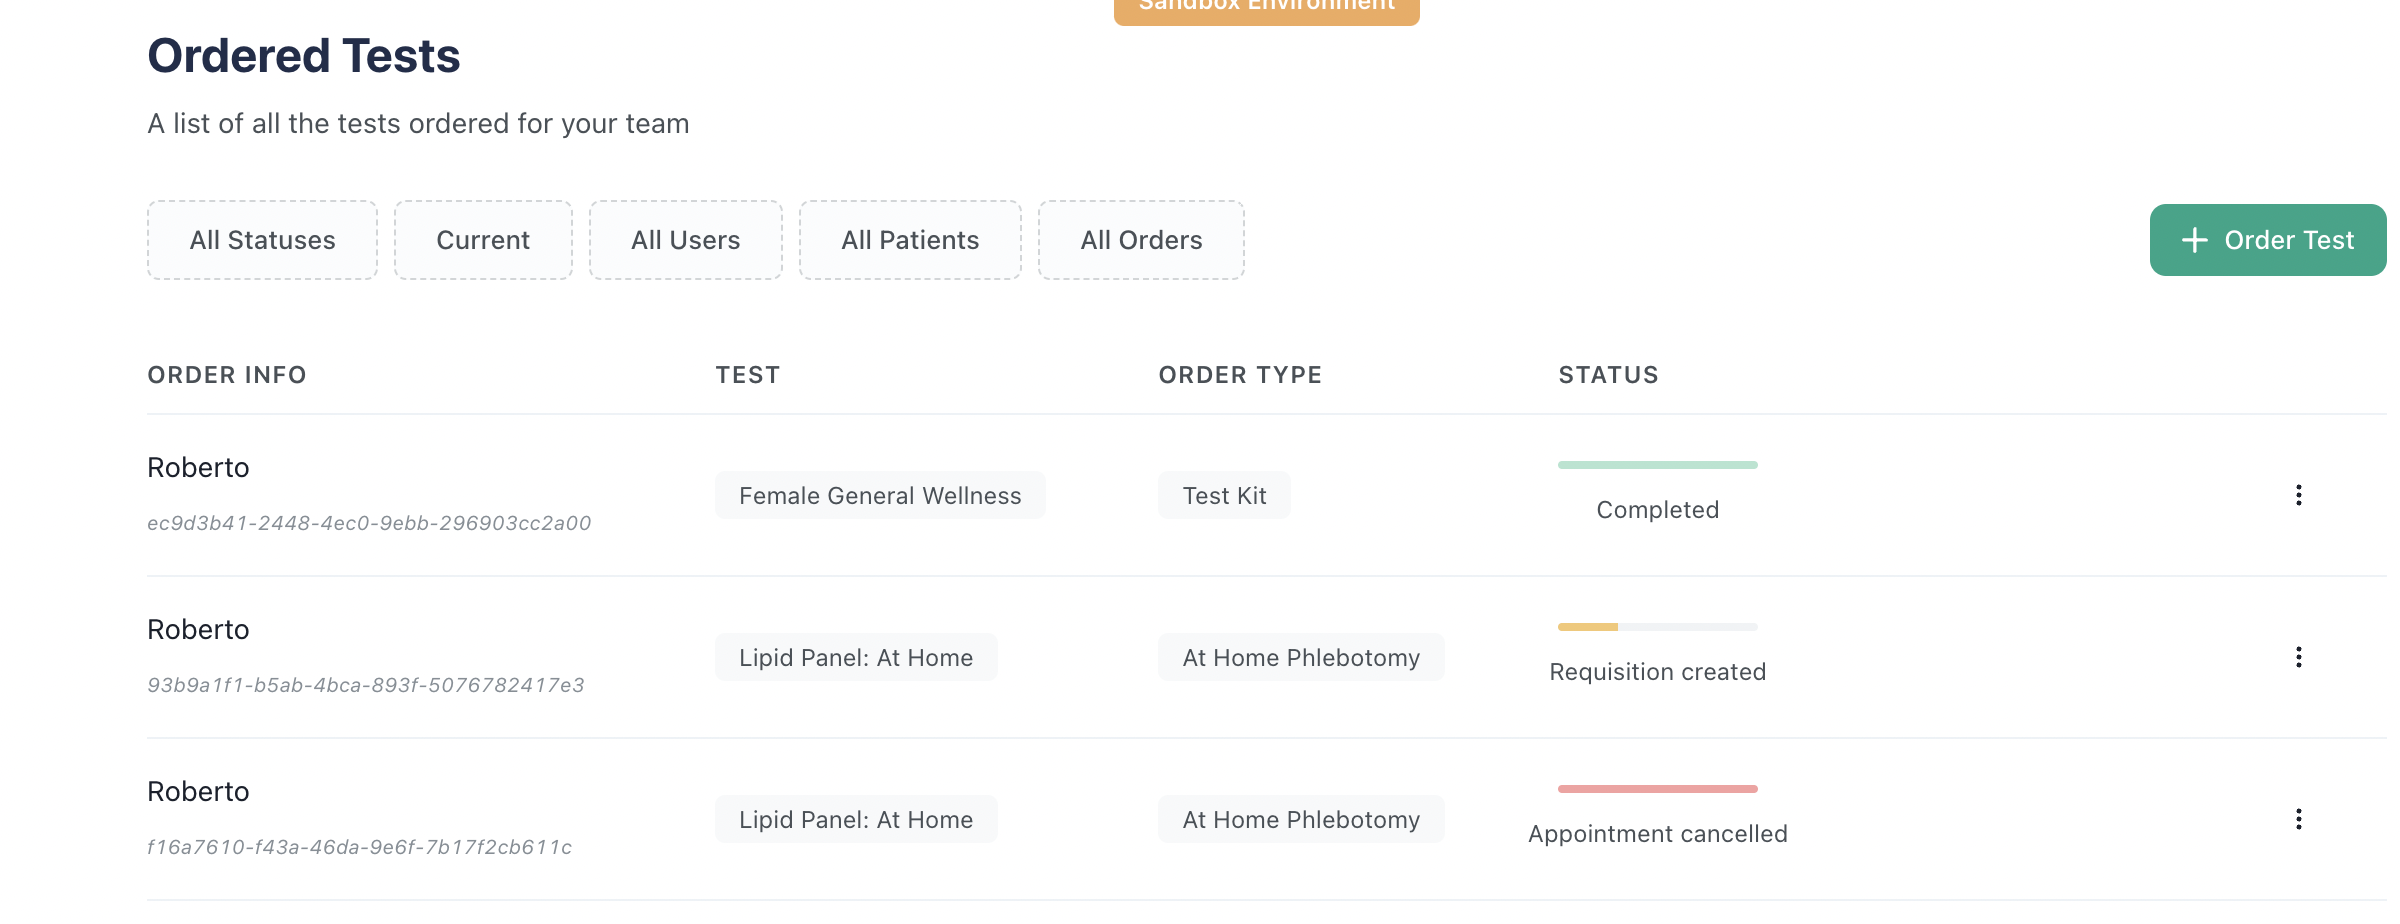
After that, you can filter out the `Scheduled` and `Current` orders in the dashboard using the filter in the orders listing.
Notice that there is a checkbox for defining this order as scheduled for the future. After the checkbox is selected, you can pass in the desired scheduled date.
After that, you can filter out the `Scheduled` and `Current` orders in the dashboard using the filter in the orders listing.