> ## Documentation Index
> Fetch the complete documentation index at: https://docs.junction.com/llms.txt
> Use this file to discover all available pages before exploring further.
# Getting Started
> Get started with the Junction Sense Python SDK for authentication, query construction, and integration with Polars and Pandas DataFrames.
The [`junction-api-sdk` PyPI package](/home/libraries) (Junction API Python SDK) provides typed bindings
of the Junction API in Python that track our OpenAPI Schema.
Junction Sense Python SDK is a standalone product offering, separate from the `junction-api-sdk` PyPI package.
**Junction Sense Python SDK** bridges Junction's data aggregation and intelligence capabilities with the
rich Python ecosystem for scientific computing and data analysis.
## Authentication
Use the same [Junction API Keys](/api-details/junction-api#authentication) your system uses to interact with the Junction API.
To set the Junction API Key for the Junction Sense Python SDK, you can:
* Pass the Junction API Key explicitly to the Junction Sense SDK entity's constructor (e.g., the Query Executor); or
* Set the Junction API Key as the `VITAL_API_KEY` environment variable.
Sign-in locally on your machine with your [Junction Dashboard](https://app.junction.com/) account. You can
do so through the [Junction Sense SDK Command Line Tool](#sdk-command-line-tool) as detailed below.
## Installation
### Aggregation API
Add the `vitalx-aggregation` package to your project.
```bash theme={null}
poetry add vitalx-aggregation
```
### SDK Command Line Tool
Add the `vitalx-cli` package as a dev dependency to your project.
```bash theme={null}
poetry add -G dev vitalx-cli
```
Create the `~/.vitalx` directory, and grant it execute permission. The SDK requires execute
permission to maintain a file lock.
```bash theme={null}
mkdir -p ~/.vitalx && chmod +x ~/.vitalx
```
Call the `auth login` CLI subcommand on the `vitalx-cli` package to start the authentication
process.
```bash theme={null}
poetry run vitalx-cli auth login
```
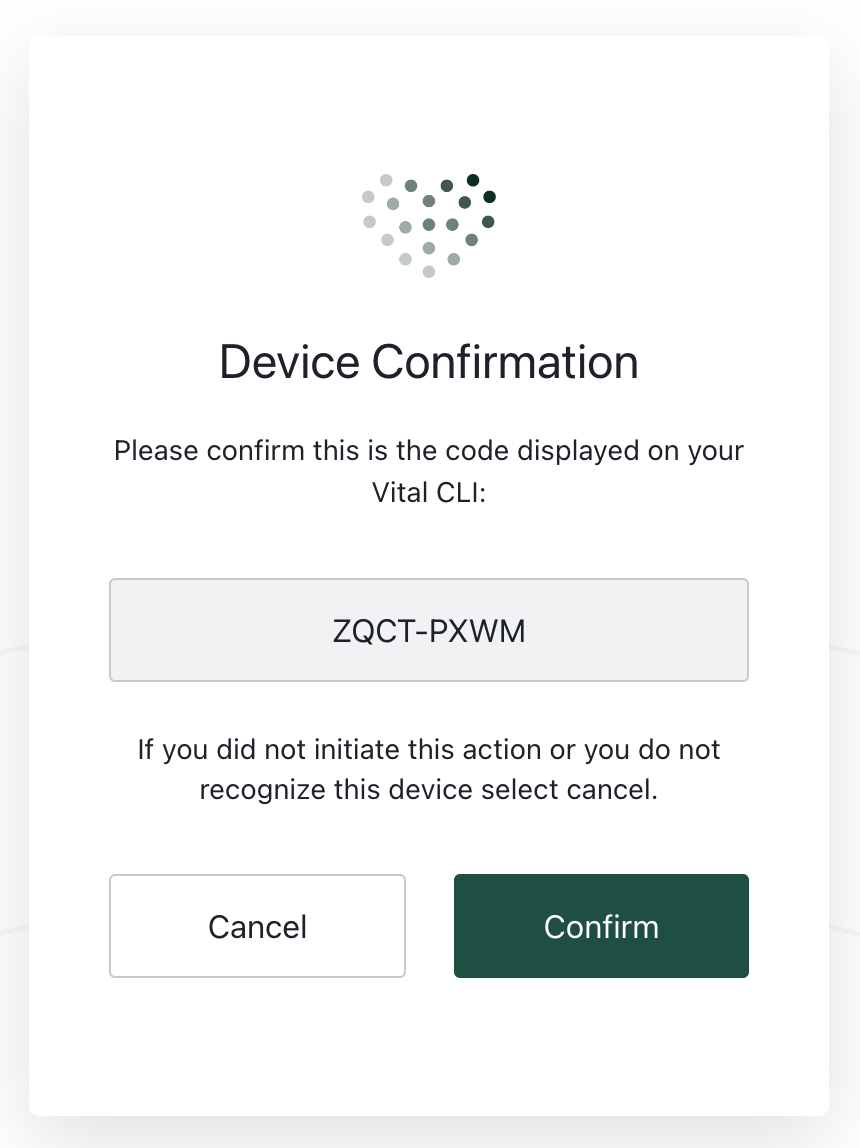
You will be prompted in your default web browser to sign in to the [Junction Dashboard](https://app.junction.com/).
You will then be asked to confirm the device authorization.
 You have now signed in. You can now use any Junction Sense SDK entity without a Junction API Key.
Your permanent session is stored at `~/.vitalx/`.
## Example
[tryvital/vitalx-notebook](https://github.com/tryVital/vitalx-notebook) is a pre-configured Jupyter Notebook project
with dependencies on Aggregation API and SDK Command Line Tool.
The notebook also includes an example to compute *Chronotypes* using the Aggregation API.
You have now signed in. You can now use any Junction Sense SDK entity without a Junction API Key.
Your permanent session is stored at `~/.vitalx/`.
## Example
[tryvital/vitalx-notebook](https://github.com/tryVital/vitalx-notebook) is a pre-configured Jupyter Notebook project
with dependencies on Aggregation API and SDK Command Line Tool.
The notebook also includes an example to compute *Chronotypes* using the Aggregation API.